Your cart
There are no more items in your cart
- News
- 0 likes
- 5831 views
- 0 comments
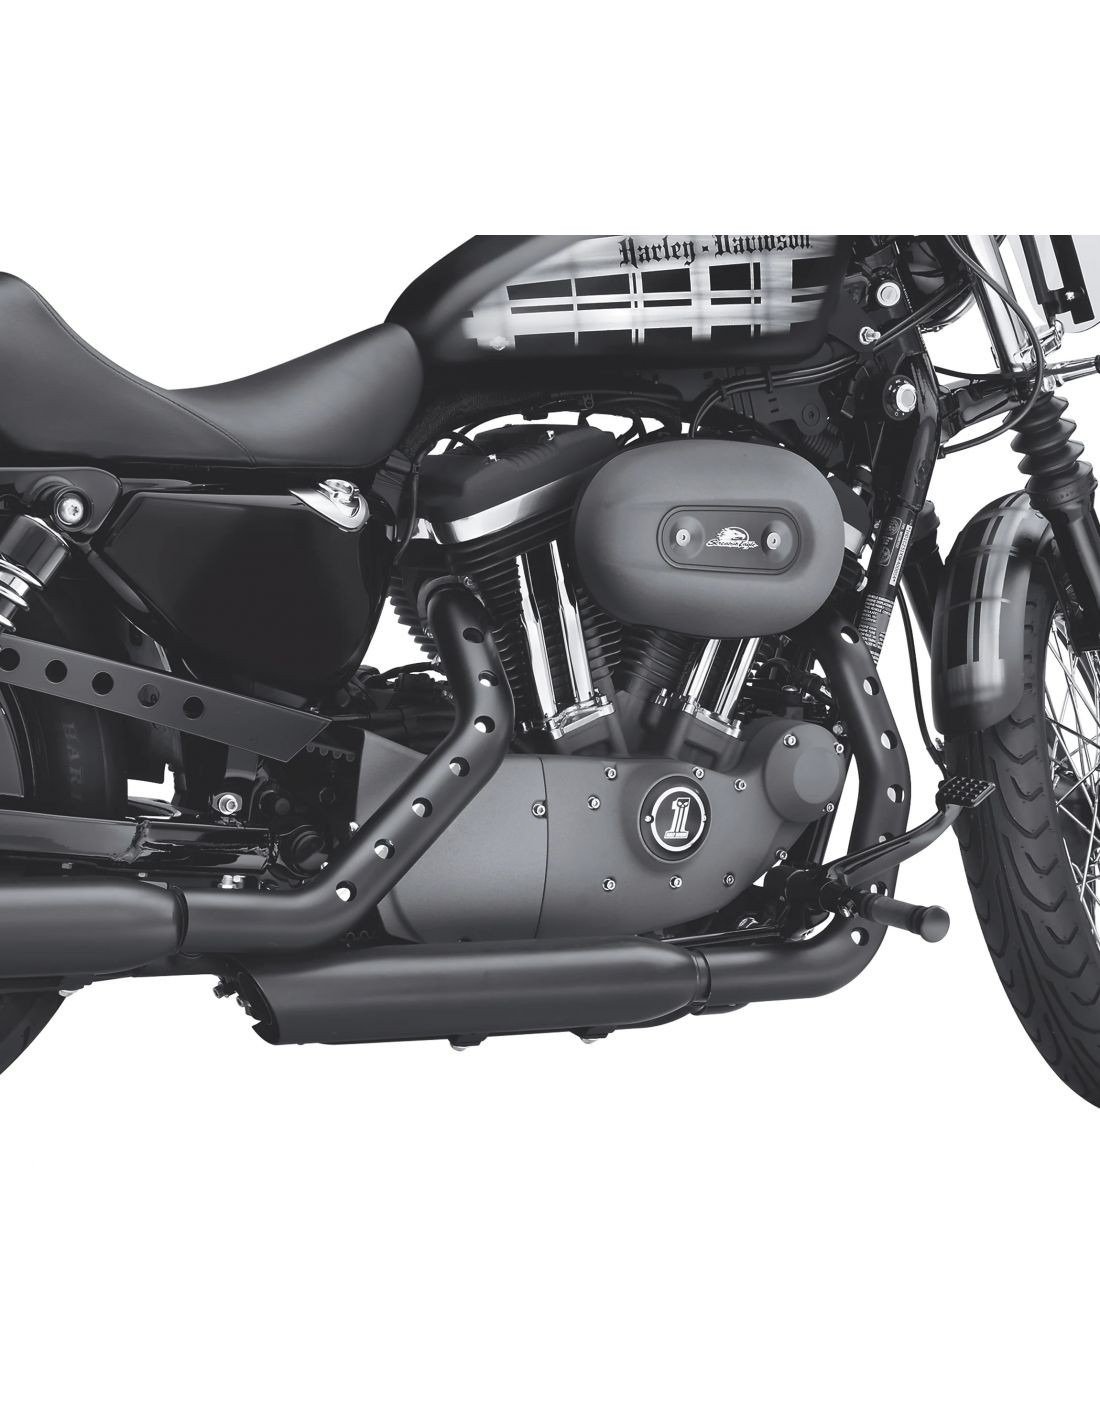
Painting an engine without disassembling it may seem like a difficult task, but with the right preparation and appropriate techniques, it is possible to achieve a professional result. This detailed guide will take you through every phase of the process, from preparation to finishing.
1. Engine Preparation
The preparation phase is crucial to ensure the paint adheres correctly and lasts over time. Follow these steps to adequately prepare the engine:
Cleaning: Begin by thoroughly cleaning the engine. Use a specific engine degreaser to remove accumulated grease, oil and dirt. After applying the degreaser, rinse with water and dry the engine completely using compressed air or a clean cloth. It is important that the engine is completely dry before proceeding.
Removing Old Paint: Use a wire brush or sandpaper to remove any residual old paint and to create a rough surface that promotes adhesion of the new paint. This step also helps eliminate surface rust.
Protecting Areas Not to be Painted: Carefully mask all areas you do not want to paint. Use painter's masking tape, plastic film or paper to cover components such as cables, pipes and other delicate parts. Make sure all exposed surfaces are well covered to avoid overspray.
2. Choosing the Paint
The choice of paint is fundamental to achieving a good result. It is necessary to use a paint resistant to high temperatures, capable of withstanding the heat of the engine.
Engine Paint: High-temperature engine paints are formulated to resist heat and the chemical agents present in the engine bay. These special paints are available from Kustom Service in a wide range of colours, allowing you to customise the appearance of the engine. Discover our extensive range of spray cans or professional liquid paints for painting your engine.
Primer: ALWAYS applying a specific engine PRIMER can improve the adhesion of the final paint. Primer also helps prevent rust and creates a uniform base for painting. However, some experts suggest that on porous surfaces such as engine metal, primer may not always be necessary.
3. Painting
The paint application technique is essential for achieving a uniform and professional result. Here is how to proceed:
Primer Application: You must always apply a primer — apply it in a light, uniform layer. Use wide, steady movements to avoid drips and runs. Allow the primer to dry completely according to the manufacturer's instructions.
Paint Application: Begin with a light "tack coat", which will serve as the base for the subsequent layers of paint. This light coat helps improve the adhesion of the following layers. After applying the first coat, wait approximately 20 minutes to allow the paint to partially dry. Proceed by applying two or three light coats of paint, using a wide, uniform movement to avoid paint build-up and runs. Allow each coat to dry for approximately 20 minutes before applying the next. If necessary, you can apply a third coat to achieve complete and uniform coverage.
Finishing: For extra protection and a glossy finish, apply a coat of heat-resistant transparent enamel. This final coat helps protect the paint and keeps the engine looking bright and clean.
4. Drying and the Right Time for Maximum Resistance
After completing the painting, it is essential to allow the engine to dry for at least 12 hours before removing the protective coverings and putting the vehicle back into operation. Follow the paint manufacturer's instructions for the complete curing time, which can take up to one week to achieve maximum resistance.
During the curing process, avoid exposing the engine to extreme conditions such as rain or very high temperatures, which could compromise paint adhesion.
The engine can be touched after 12 hours with 1K sprays and 12 hours with 2K sprays.
To remove the masking, use a very sharp cutter at the points where the paint may have built up thickness and overlapped between the metal and the masking tape, in order not to ruin your work by accidentally tearing the paint.
Useful Tips for Engine Painting
Ventilation: Make sure to work in a well-ventilated area to avoid the build-up of toxic fumes. Wear a suitable respiratory mask to protect the airways.
Adequate Equipment: Use a spray gun or airbrush for a uniform and precise application of the paint. These tools allow better control over the amount of paint applied and enable you to reach even the most difficult areas.
Practice: If you are using a paint with a particular finish, such as crackle paint, practise on a similar piece of metal before applying it to the engine. This will help you become familiar with the technique and avoid mistakes during application.
Paint Maintenance: Once painted, keep the engine clean and free of grease and oil to preserve the paint finish. Clean the engine regularly with a mild detergent and dry thoroughly after each wash.
By following these steps, you can successfully paint your engine without having to disassemble it, achieving an aesthetically pleasing and long-lasting result. Happy painting!
Comments (0)