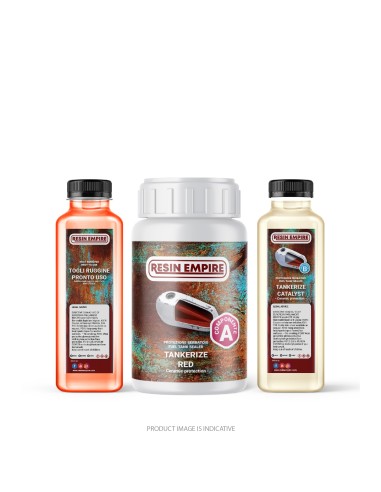
SMALL RED ANTI-RUST TREATMENT KIT FOR MOTORCYCLE AND CAR TANKS
Kit for tanks up to 8/10 liters
This treatment is similar to Tankerite produced by another company but it is not Tankerite
WHAT DOES IT CONTAIN?
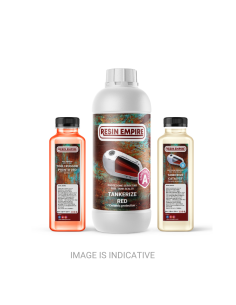
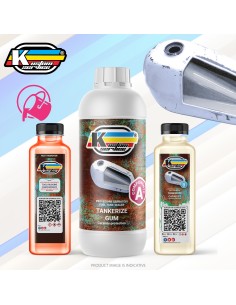
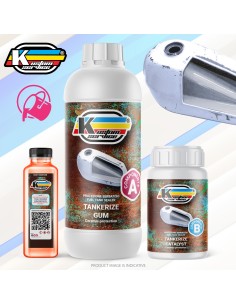
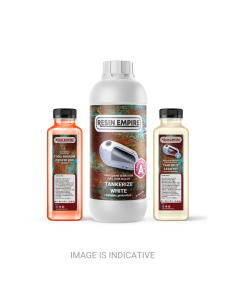
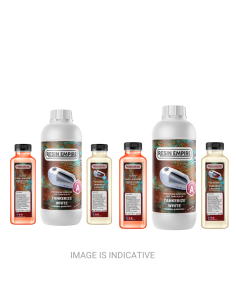
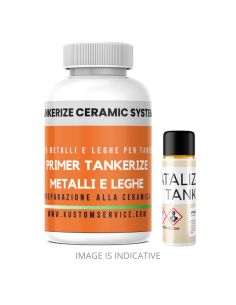
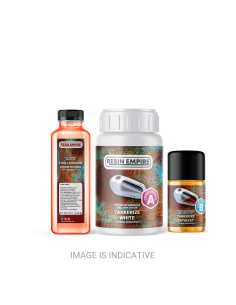
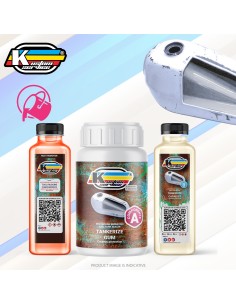
1 Jar of base component A
1 Jar of catalyst component B in proportion (so if you see the bottle half full it is normal because we give you the right amount to add to component A)
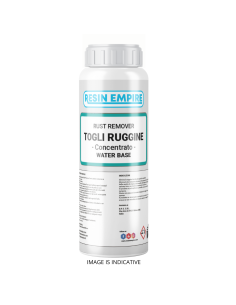
1 Concentrated rust remover acid of 150ml that must be diluted before pouring it into the tank with 600ml of water.
1 Instruction sheet (if you don't understand something, you can send an email with your phone number and you will be contacted)
HOW TO USE THE ANTI-RUST TANK TREATMENT KIT?
PHASE 1 INITIAL CLEANING
1 Empty the tank of all gasoline. When we say all, it means all, no residue should remain.
2 If you can't remove it all, you have two options. Leave the tank open until all the gasoline evaporates, or put some pink alcohol in the tank, shake it, empty it, and finally blow away the residue with compressed air. If there is a little alcohol left, it doesn't matter because it will be removed with the rust remover acid treatment. So don't worry.
3 Now we need to check how severe the rust condition inside your tank is. To do this, just illuminate the inside a little with a light and see if the oxidation is HEAVY, NORMAL, or MINIMAL. Based on this condition, we will decide how to dilute the acid and how much to use to clean the surfaces and make them ready for treatment.
PHASE 2 REMOVE RUST OR CLEAN THE PLASTIC TANK
FOR PLASTIC TANKS
Empty the tank of gasoline and clean it with two liters of pink alcohol or pure acetone by simply shaking and emptying (it can be purchased at any hardware store and should not be the one for women's nails). After cleaning, blow it with compressed air or a heat gun, make sure the tank is dry, and then start the sealing phase with Tankerize.
FOR METAL TANKS
Based on how much rust we have in the tank, we decide how much acid to use, how much to buy, and how much to dilute it.
The premise is that we provide in the kit a bottle of highly concentrated acid. It needs to be diluted and is sufficient to easily remove rust from average conditions, which is the case for most motorcycle tanks. However, if the rust is encrusted, one bottle may not be enough, so it would be good to purchase another one. This is because the anti-rust treatment needs to be performed multiple times, not just once.
IF THE TANK HAS LITTLE OR MEDIUM RUST
Medium means that when we look inside, the rust is not encrusted in pieces but has a brown or yellowish patina without visible pieces of rust.
In this case, pour the entire contents of the bottle into a plastic or glass jug (the acid only attacks metal and rust), then fill the bottle four more times with tap water and pour it into the jug. Since the bottle measures 150ml, we will have the perfect measurement of 150ml of acid plus 600ml of water.
Mix and pour into the tank.
IF THE TANK HAS ENCRUSTED RUST
First of all, it is advisable to purchase an extra bottle to make sure you have enough quantity to repeat the treatment if one time is not enough.
You can tell because there are plates and pieces of rust. In this case, also consider whether it is necessary to buy a new tank or have it unsoldered and restored by a professional in the field.
In this case, pour the entire contents of the bottle into a plastic or glass jug, fill the bottle with tap water twice, and pour it into the tank. This way, the acid will be more concentrated and therefore more powerful.
If you have bought two bottles, you can also dilute the acid normally with a ratio of one bottle of acid to four bottles of water. The important thing is to leave the acid in the tank for at least 30/40 minutes on each side so that it can act deeply.
HOW LONG SHOULD I LEAVE THE ACID IN THE TANK?
As mentioned earlier, the acid must remain inside the tank for at least 30/40 minutes on each side. Only in this way will you have the certainty of the maximum result.
When you have finished the cycle, you must empty the tank of all residues, pour abundant alcohol or acetone inside, and check the condition of the walls.
If you are satisfied, move on to the second phase; otherwise, you can filter the acid from the residues with a bodywork filter and put it back into the tank or use a new bottle to have maximum strength and finish removing the remaining rust.
Remember that if you reuse the acid, it will not have the same strength as the first time, as some of its power has been used up in the first treatment.
REMOVE THE ACID AND PREPARE FOR TANKERIZATION
The first thing to know is that once you remove the acid from the tank, you cannot leave it exposed to the air, but you must immediately perform the tank rust prevention treatment. So, there's no point in asking if you can do it the next day or in the afternoon. The treatment must be done all at once.
Remove the acid by emptying the tank and proceed as follows:
1. Pour one or two liters of pink alcohol or pure acetone into the tank (both are suitable, use what you have available)
2. Shake well so that it can combine with the residual water
3. Completely empty the tank
4. Use a hairdryer or heat gun or compressed air to evaporate the alcohol or acetone, which will take away the residual moisture
Only in this way can you be sure that the water and moisture have been eliminated
NOTE: Do not leave the tank exposed to the air for more than one or two hours, otherwise rust will start to form again. You must pour the Tankerize into the tank immediately after drying the moisture.
If you do not do this step properly after a few days or some time, it may happen that the Tankerize starts to peel off the walls or form bubbles detaching from the metal.
TANKERIZE THE TANK
We have reached the most important phase.
Prepare the Tankerize by mixing the small bottle of transparent catalyst and pouring it all into the large jar of the base.
Mix thoroughly for one or two minutes and then let it rest for 20 minutes, otherwise the Tankerize may not dry properly. It is not mandatory but a recommendation, especially when we are in winter or in cold and humid places.
In the meantime, heat the metal of the tank to maintain a good temperature on the object. It is not mandatory but a recommendation that sometimes makes a difference.
Before pouring Tankerize into the tank, remember to protect the threaded holes by inserting screws into them. These screws should be unscrewed and removed after about 12 hours from the application of Tankerize. The reason they should be removed after 12 hours is because if it was done earlier, the still liquid Tankerize could flow into the threading and prevent the valves from being screwed back in. On the other hand, if it were to pass 24 or 48 hours, the Tankerize would become too hard and therefore there is a risk that it could crack at the junction between the screw and the bottom of the tank. If this were to happen, a part of the metal could be exposed to gasoline and therefore rust could form again, resulting in the detachment of the protection from the metal.
Pour everything into the tank
Close the hole and start rotating the tank slowly
Occasionally open the tank cap and check that the Tankerize covers all surfaces evenly
When we have a colored and homogeneous surface, we stop for an hour
After an hour, if there is still a good amount of Tankerize in the tank, we can rotate again to create a thicker layer.
If we don't care or if there is only a small amount of remaining Tankerize, we can empty the tank and let it dry, making sure to remove the cap and open all the holes so that plenty of air and oxygen can pass through, which will help with the hardening process.
HOW LONG DOES TANKERIZE TAKE TO DRY? AFTER HOW MANY DAYS CAN I PUT GASOLINE IN THE TANK?
Drying does not mean it is ready for chemical contact with gasoline.
Therefore, we recommend waiting 5/6 days in the summer and 6/10 days in the winter.
Remember that humidity and ambient temperature greatly influence the drying time of this product.
CAN I HEAT THE TANK TO DRY IT FASTER?
ABSOLUTELY NOT!
Do not put the tank in a high-temperature body shop oven as you would with 2K paints. The high temperature would have a disastrous effect on the Tankerize ceramic, causing it to liquefy and flow down to the bottom of the tank.
It is much more important to have a constant ambient temperature between 18 and 24 degrees Celsius, and the same on the metal of the tank, which guarantees proper drying in regular times.
TECHNICAL SUPPORT
If you have any doubts, send an email with your phone number or call 3342272665
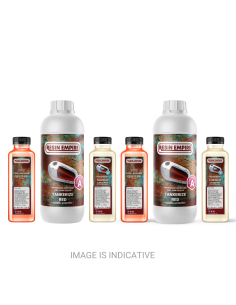
WHAT DO THE TANKERIZE KITS CONTAIN?
Large Kit:
- 1050kg base
- 150g of catalyst
- 150ml of super concentrated acid that becomes 750ml once diluted with tap water
Medium Kit:
- 640g base
- 60g of catalyst
- 150ml of super concentrated acid that becomes 750ml once diluted with tap water
Small Kit:
- 340g base
- 60g of catalyst
- 150ml of super concentrated acid that becomes 750ml once diluted with tap water

